Tutorial: Crashlytics + Android Studio = Crash Reporting on Easy Mode
Crashlytics is a slick and remarkably easy automatic crash reporting service that integrates tightly with your existing IDE. I had a chance to beta test their newest version, and I must say it is the absolute easiest and fastest way to add crash reporting to your app. Trust me, for someone who has 70 apps in the app store speed and ease of setup become critical. A twelve minute process cut down to two doesn’t sound like much for one app. Multiply that by 70, and you’re saving literally days of work.
You may remember about a year ago when I did a tutorial on how to add Crittercicm crash reporting to your app. It was a simple process, but did require about 5-10 minutes of setup including:
- creating your app in Crittercism on the actual Crittercism website
- logging in to Crittercism.com and copying out your generated app id
- start up android studio and open up the manifest and startup activity
- adding said app id into your init strings
- updating your manifest with a new permission
- initializing crash reporting in your startup activity
- copying the crittercism.jar to the libs directory and add it to the classpath
That actually sounds like a lot of hassle, now that I’ve used the new beta of Crashlytics. Here’s an updated tutorial on how to add automatic crash reporting to your app in under 2 minutes.
Prerequisite: Installing Crashlytics In Android Studio
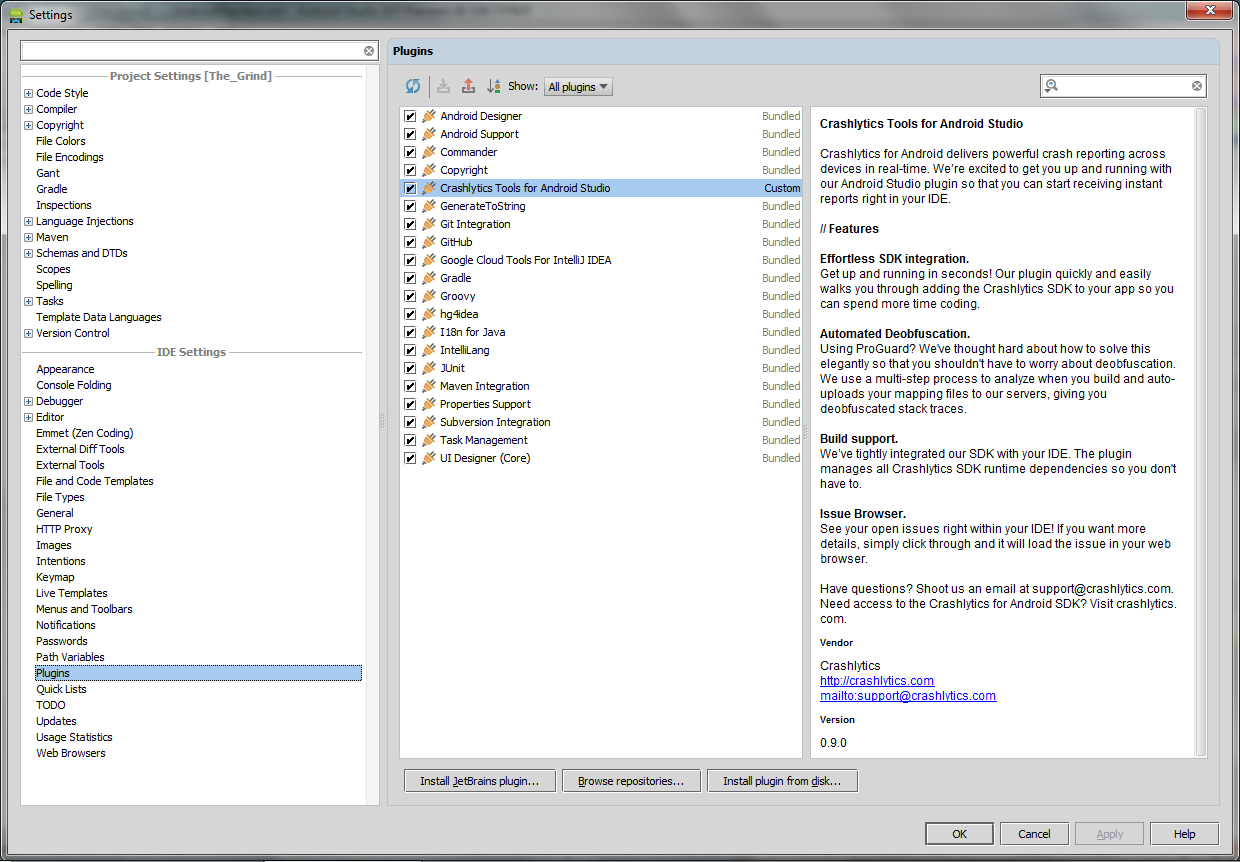
The great thing about Crashlytics is that it integrates into your IDE. While there is an Eclipse plugin, they already provide an Android Studio plugin for those of us who are hip to the new Android Studio / Gradle way of thinking. Simply open your Android Studio Settings, go to Plugins, Install Plugin from Disk, and select the Crashlytics plugin zip file.
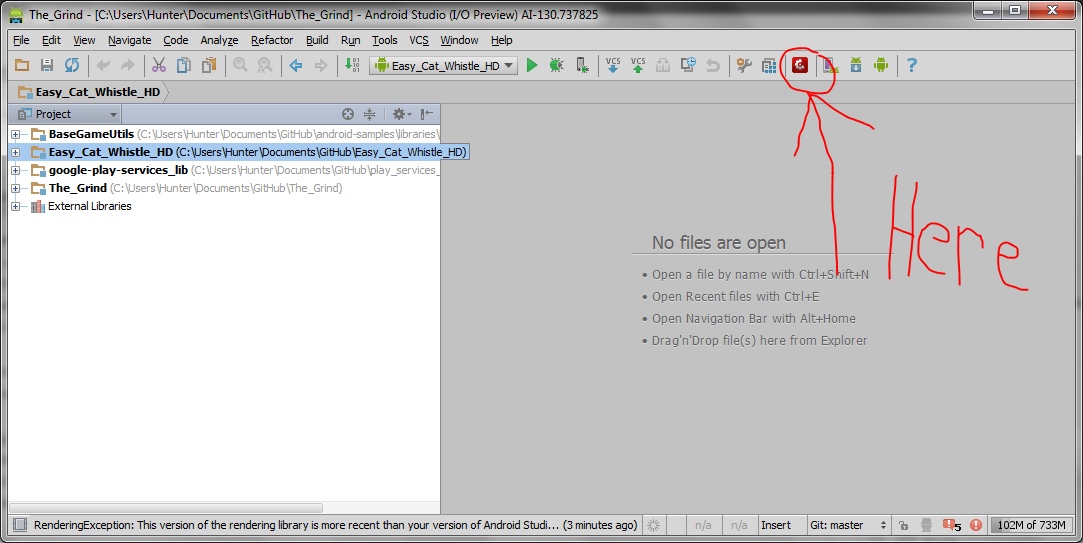
This adds a Crashlytics button to your IDE, giving you quick access to create new apps and view existing crashes.
Adding Crash Reporting To Your App
-
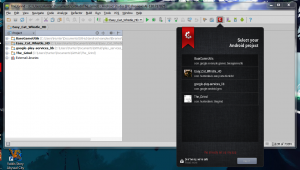
Start up Android Studio and highlight the app you wish to have crash reporting in the Crashlytics menu (just click the Crashlytics button)
-
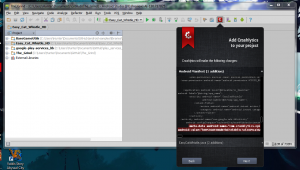
Click “next” a few times to accept the changes to your manifest and init code
-
Copy the crashlytics jar to your projects’ libs dir and add it to your app’s classpath. (may not be needed for those who have moved to Gradle)


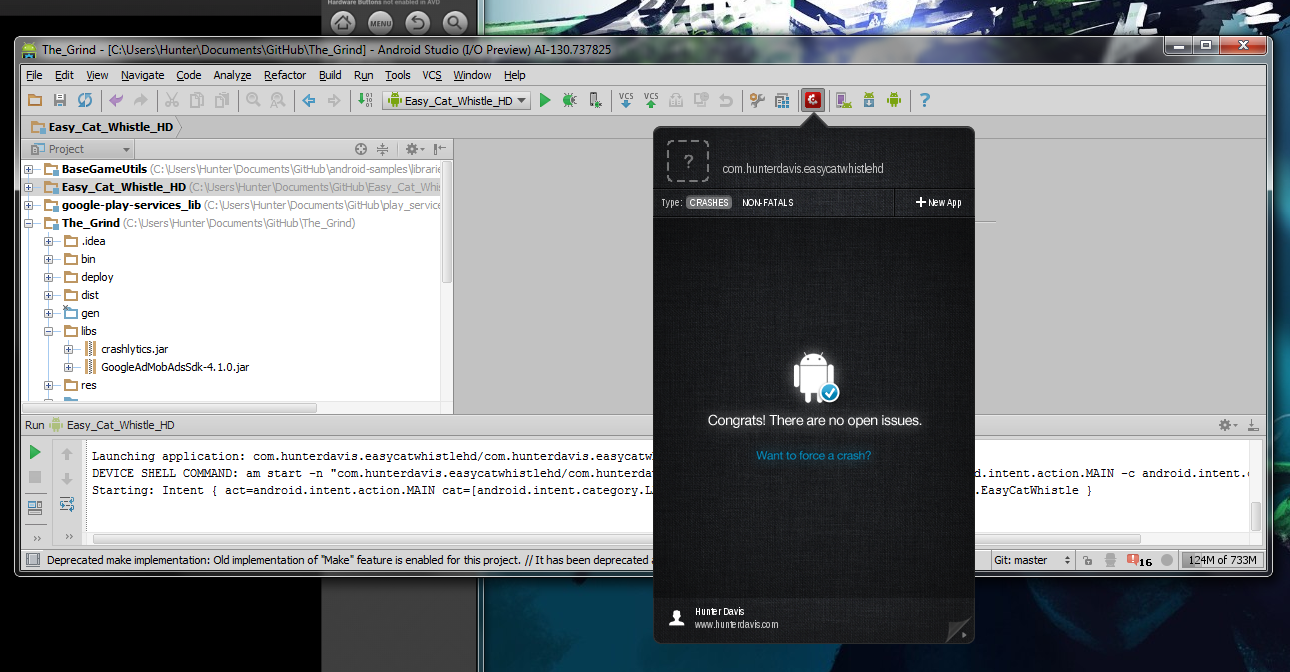
That’s that. Cuts quite a few steps out of the process, which helps to eliminate common errors and repetition. Now just build and run your app and you’ll see a screen like this.
And you’re ready to go. You don’t need to log into a website to check your crashes, or ever think about app ids or worry if you updated your manifest. You’ll receive an email directly that you added a new app, and you can always log into the web app directly for crash reports if you prefer. Easy.