Game Boy "Classic"
There’s a pretty well known rule around my house: “If I buy one TV, I need to get rid of two.” I know the math of this doesn’t seem to work out in theory, but in practice it does. Between giveaways from friends and what I find myself, there’s always a steady stream of television related projects coming through.
When I’m out at a thrift store, I keep an eye on the old sets. I’m a sucker for an interesting TV, and sometimes one just hits you. I’m out at the local Goodwill and I see this one:
I don’t know why, but my first thought was “That would make an awesome game boy!” I’ve previously used my retrode to rip all of my game boy games to rom files, so all I really need is a raspberri and enough video output converters to get to 300 ohm twin-lead antenna input.
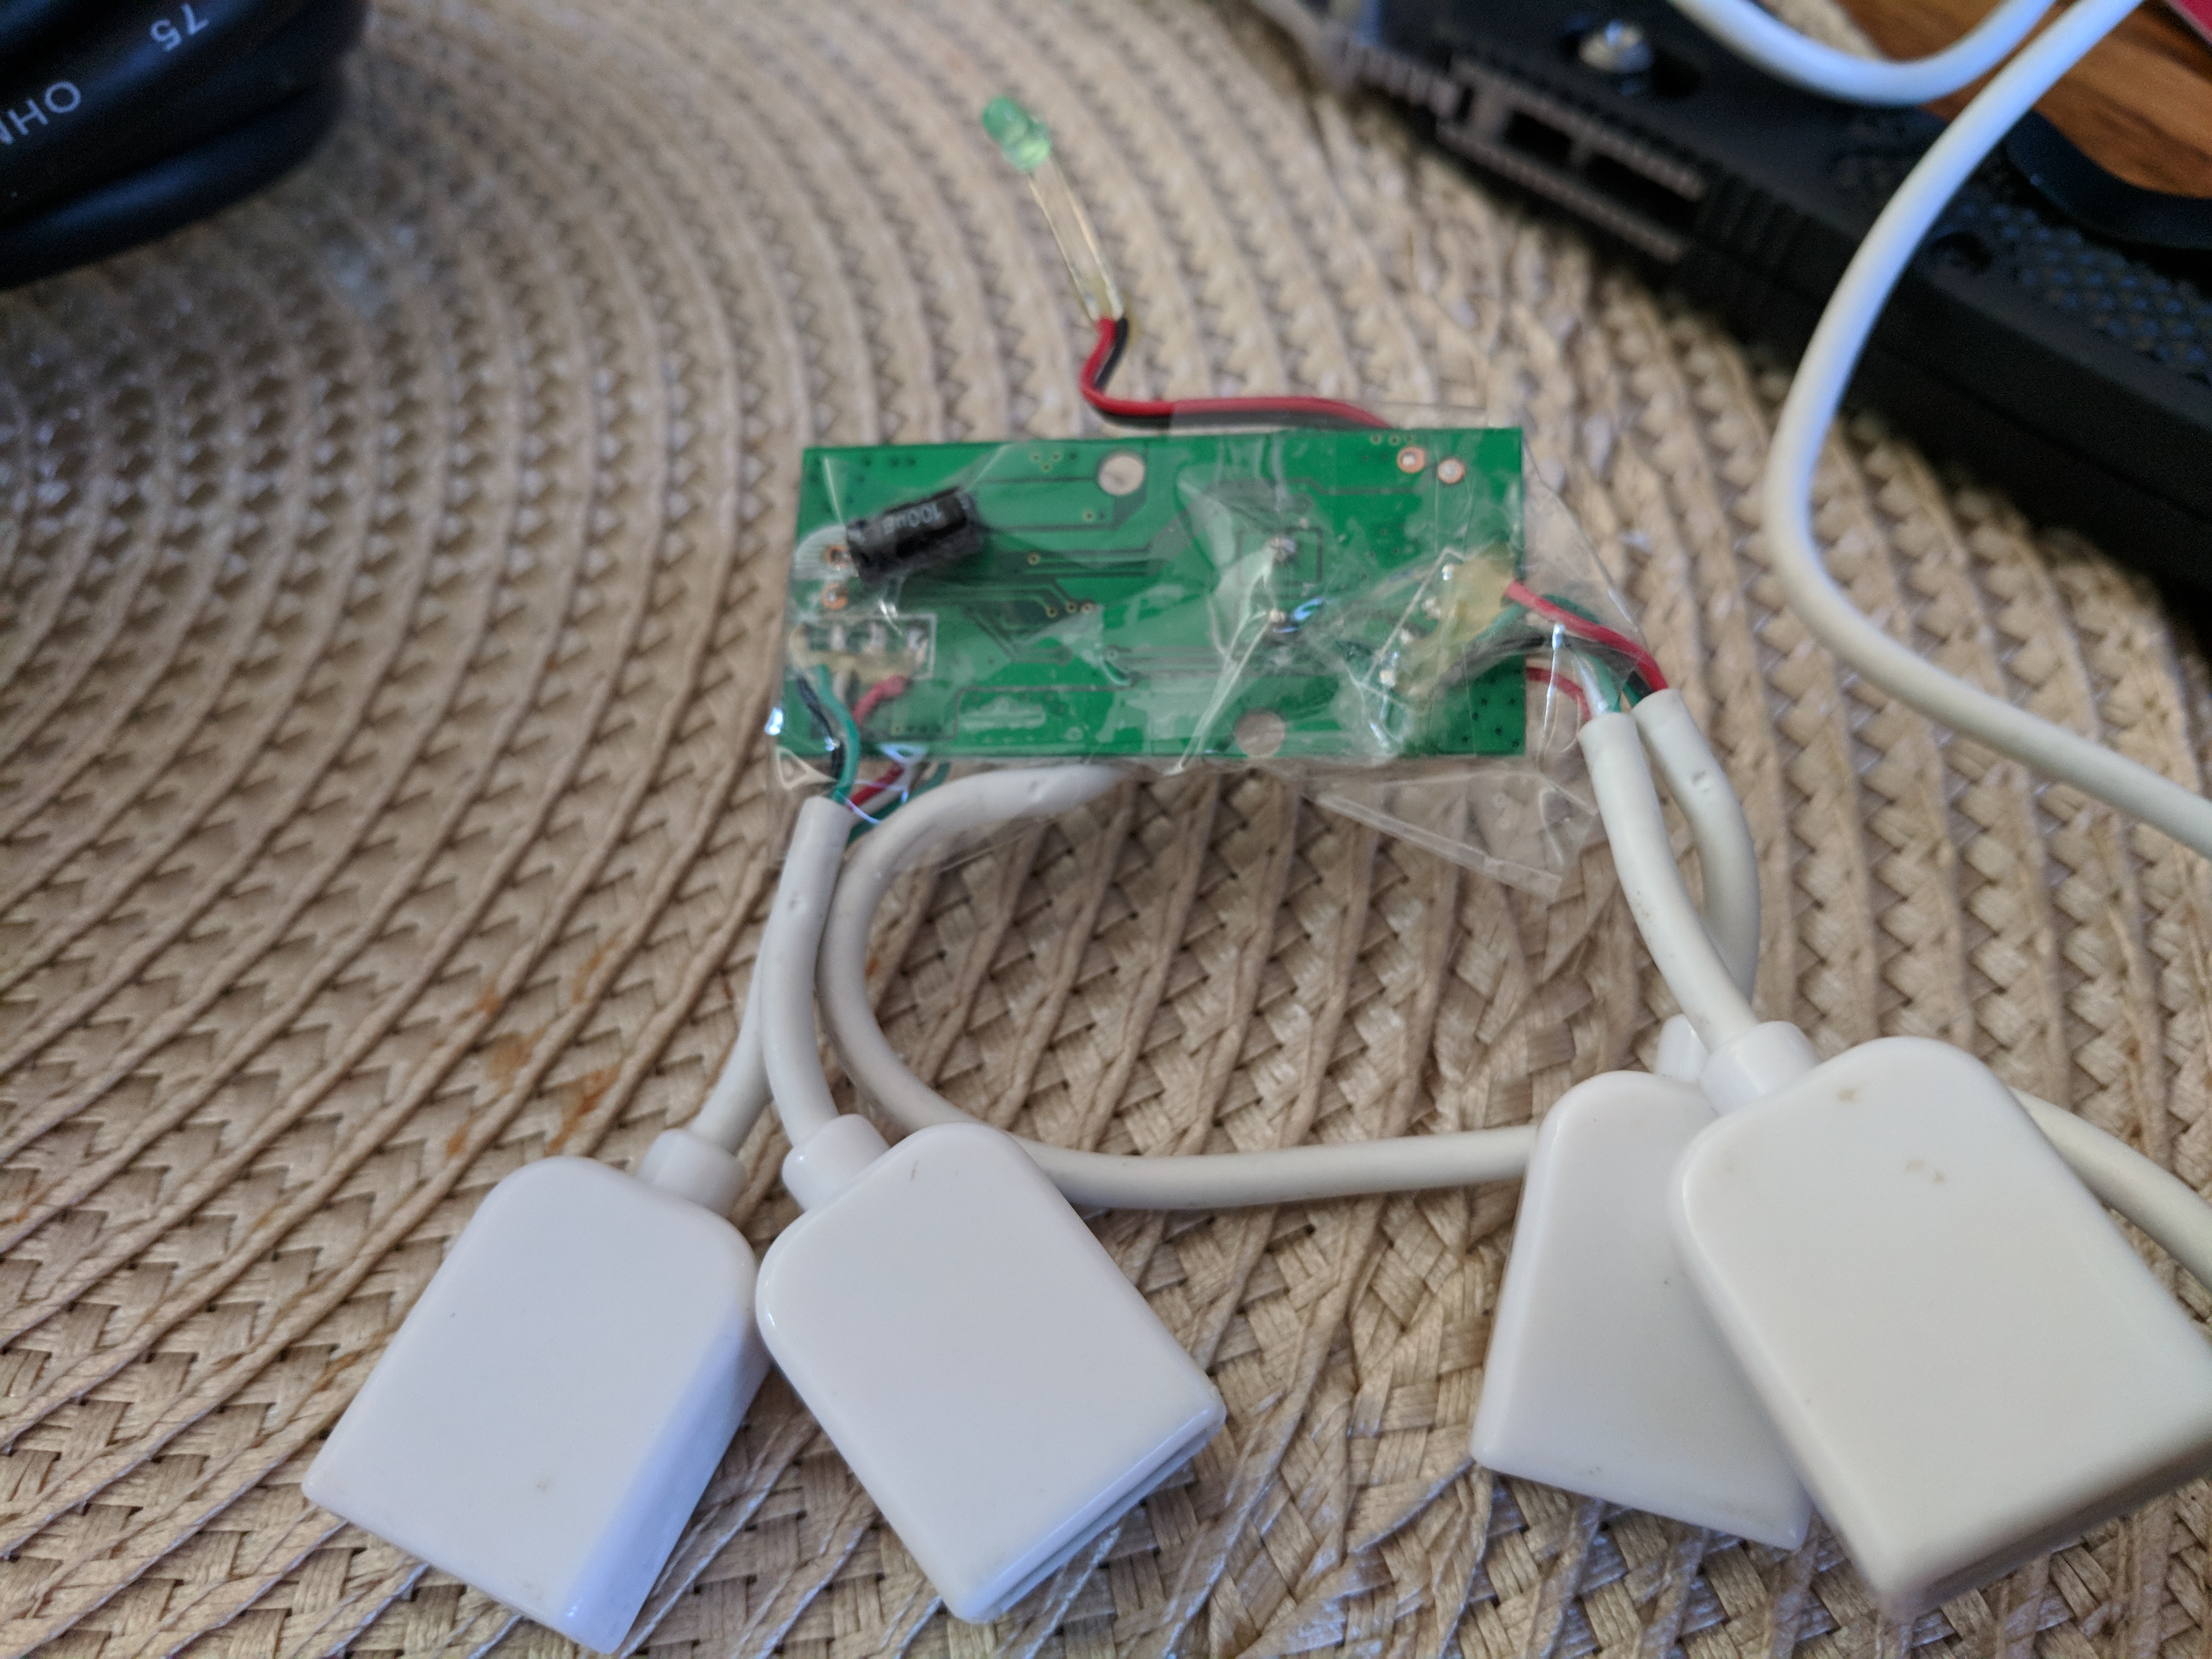
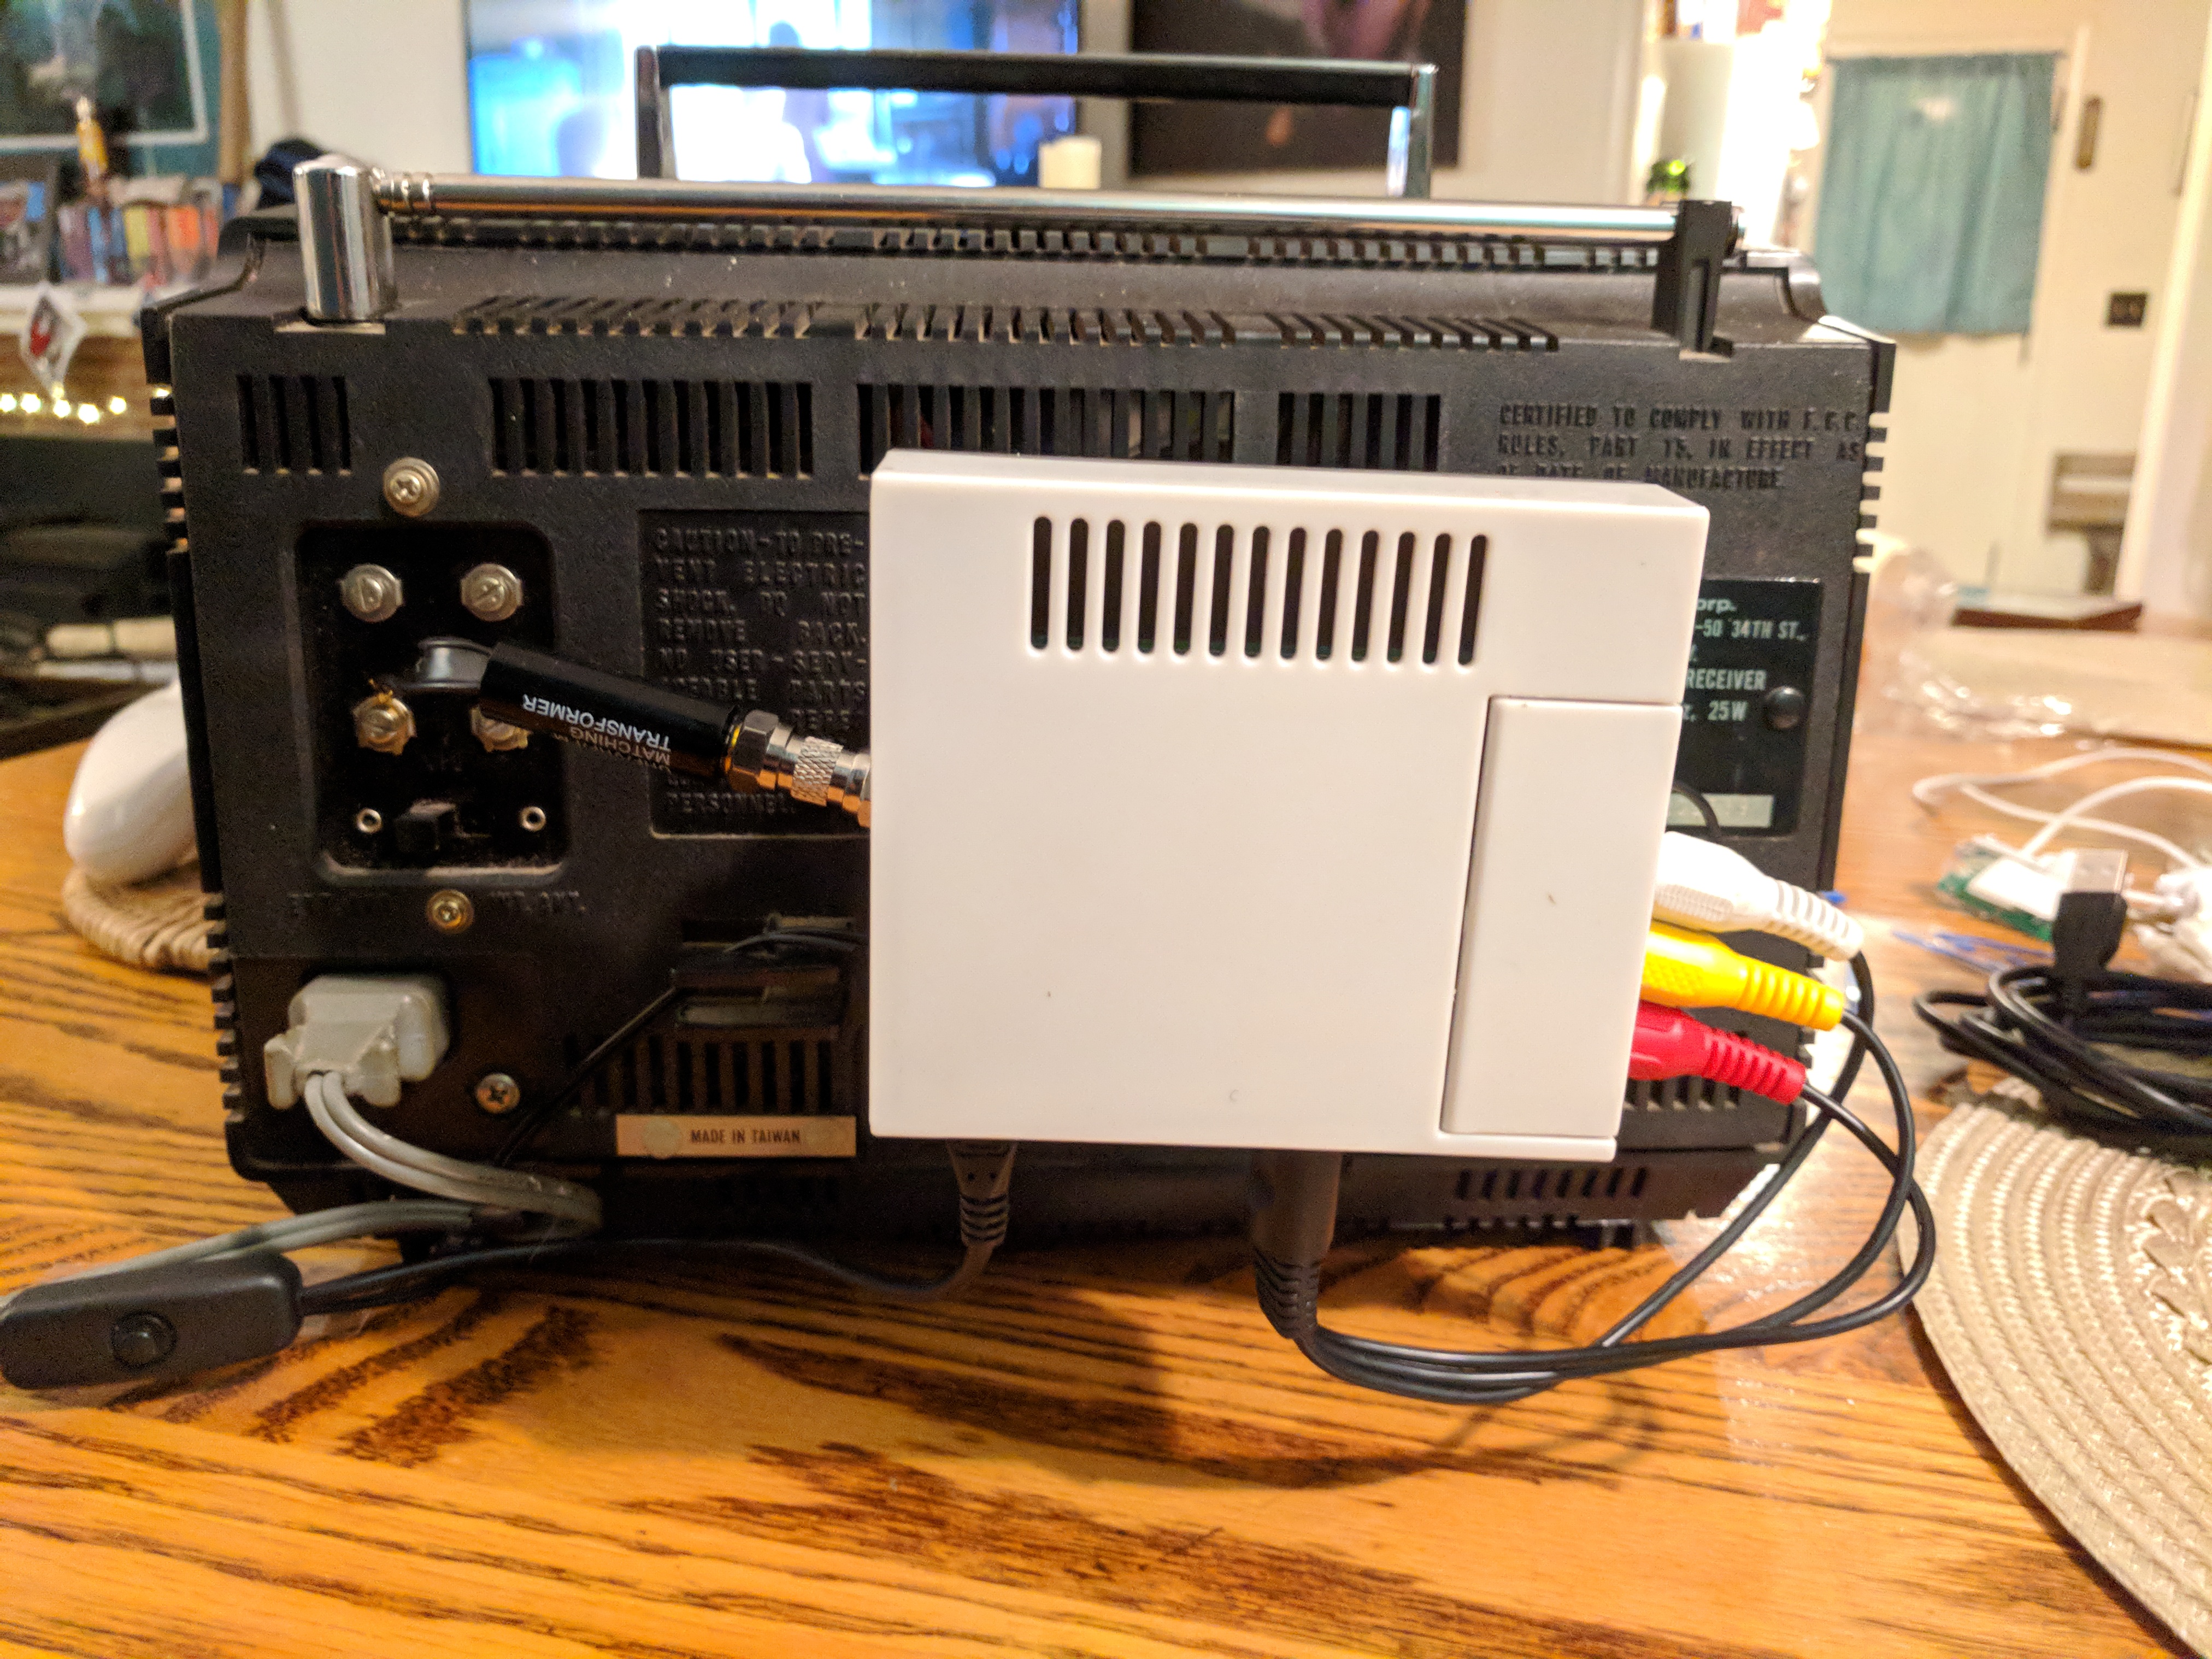
As usual, I didn’t get it right on the first try. My original design was to run the RCA->Coax converter off of a 5V DC barrel jack to USB lead, connected to a hub circuit board, which can also power the pi. That technically worked, but there was a huge amount of interference on signal, and both the audio and video suffered. I really liked the tie job I did on V1 though. In the end, I think there just wasn’t enough power being delivered by the little usb board.
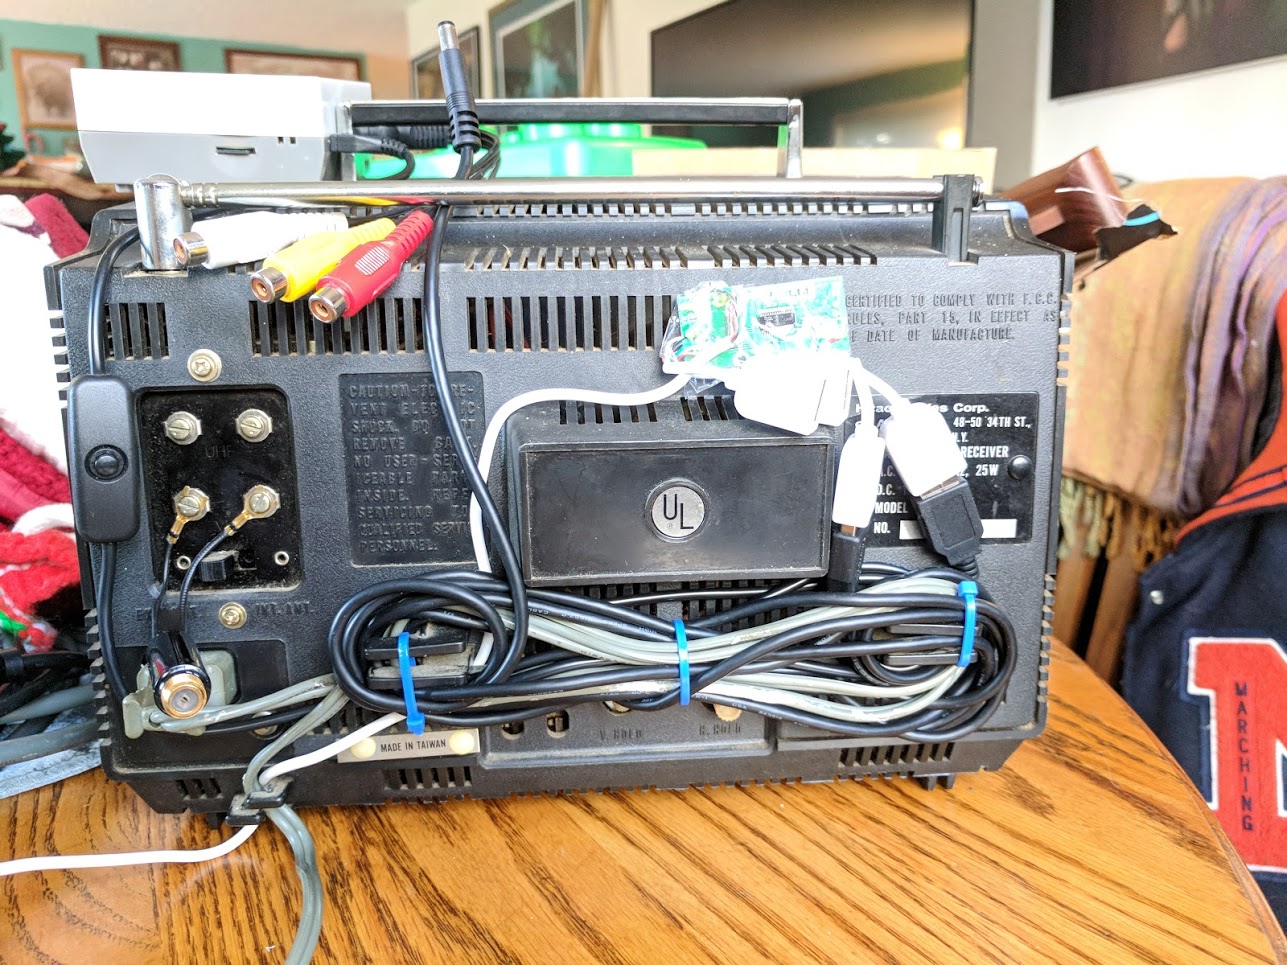
For V2, I simply powered everything separately, and used velcro tape to attach the lightweight RCA-Coax-Transformer assembly to the back of the TV. I then used the same tape to attach the raspberri pi (in a NES case shell) to the assembly. The end result is clean enough and there’s no modern parts visible from the front which is nice.
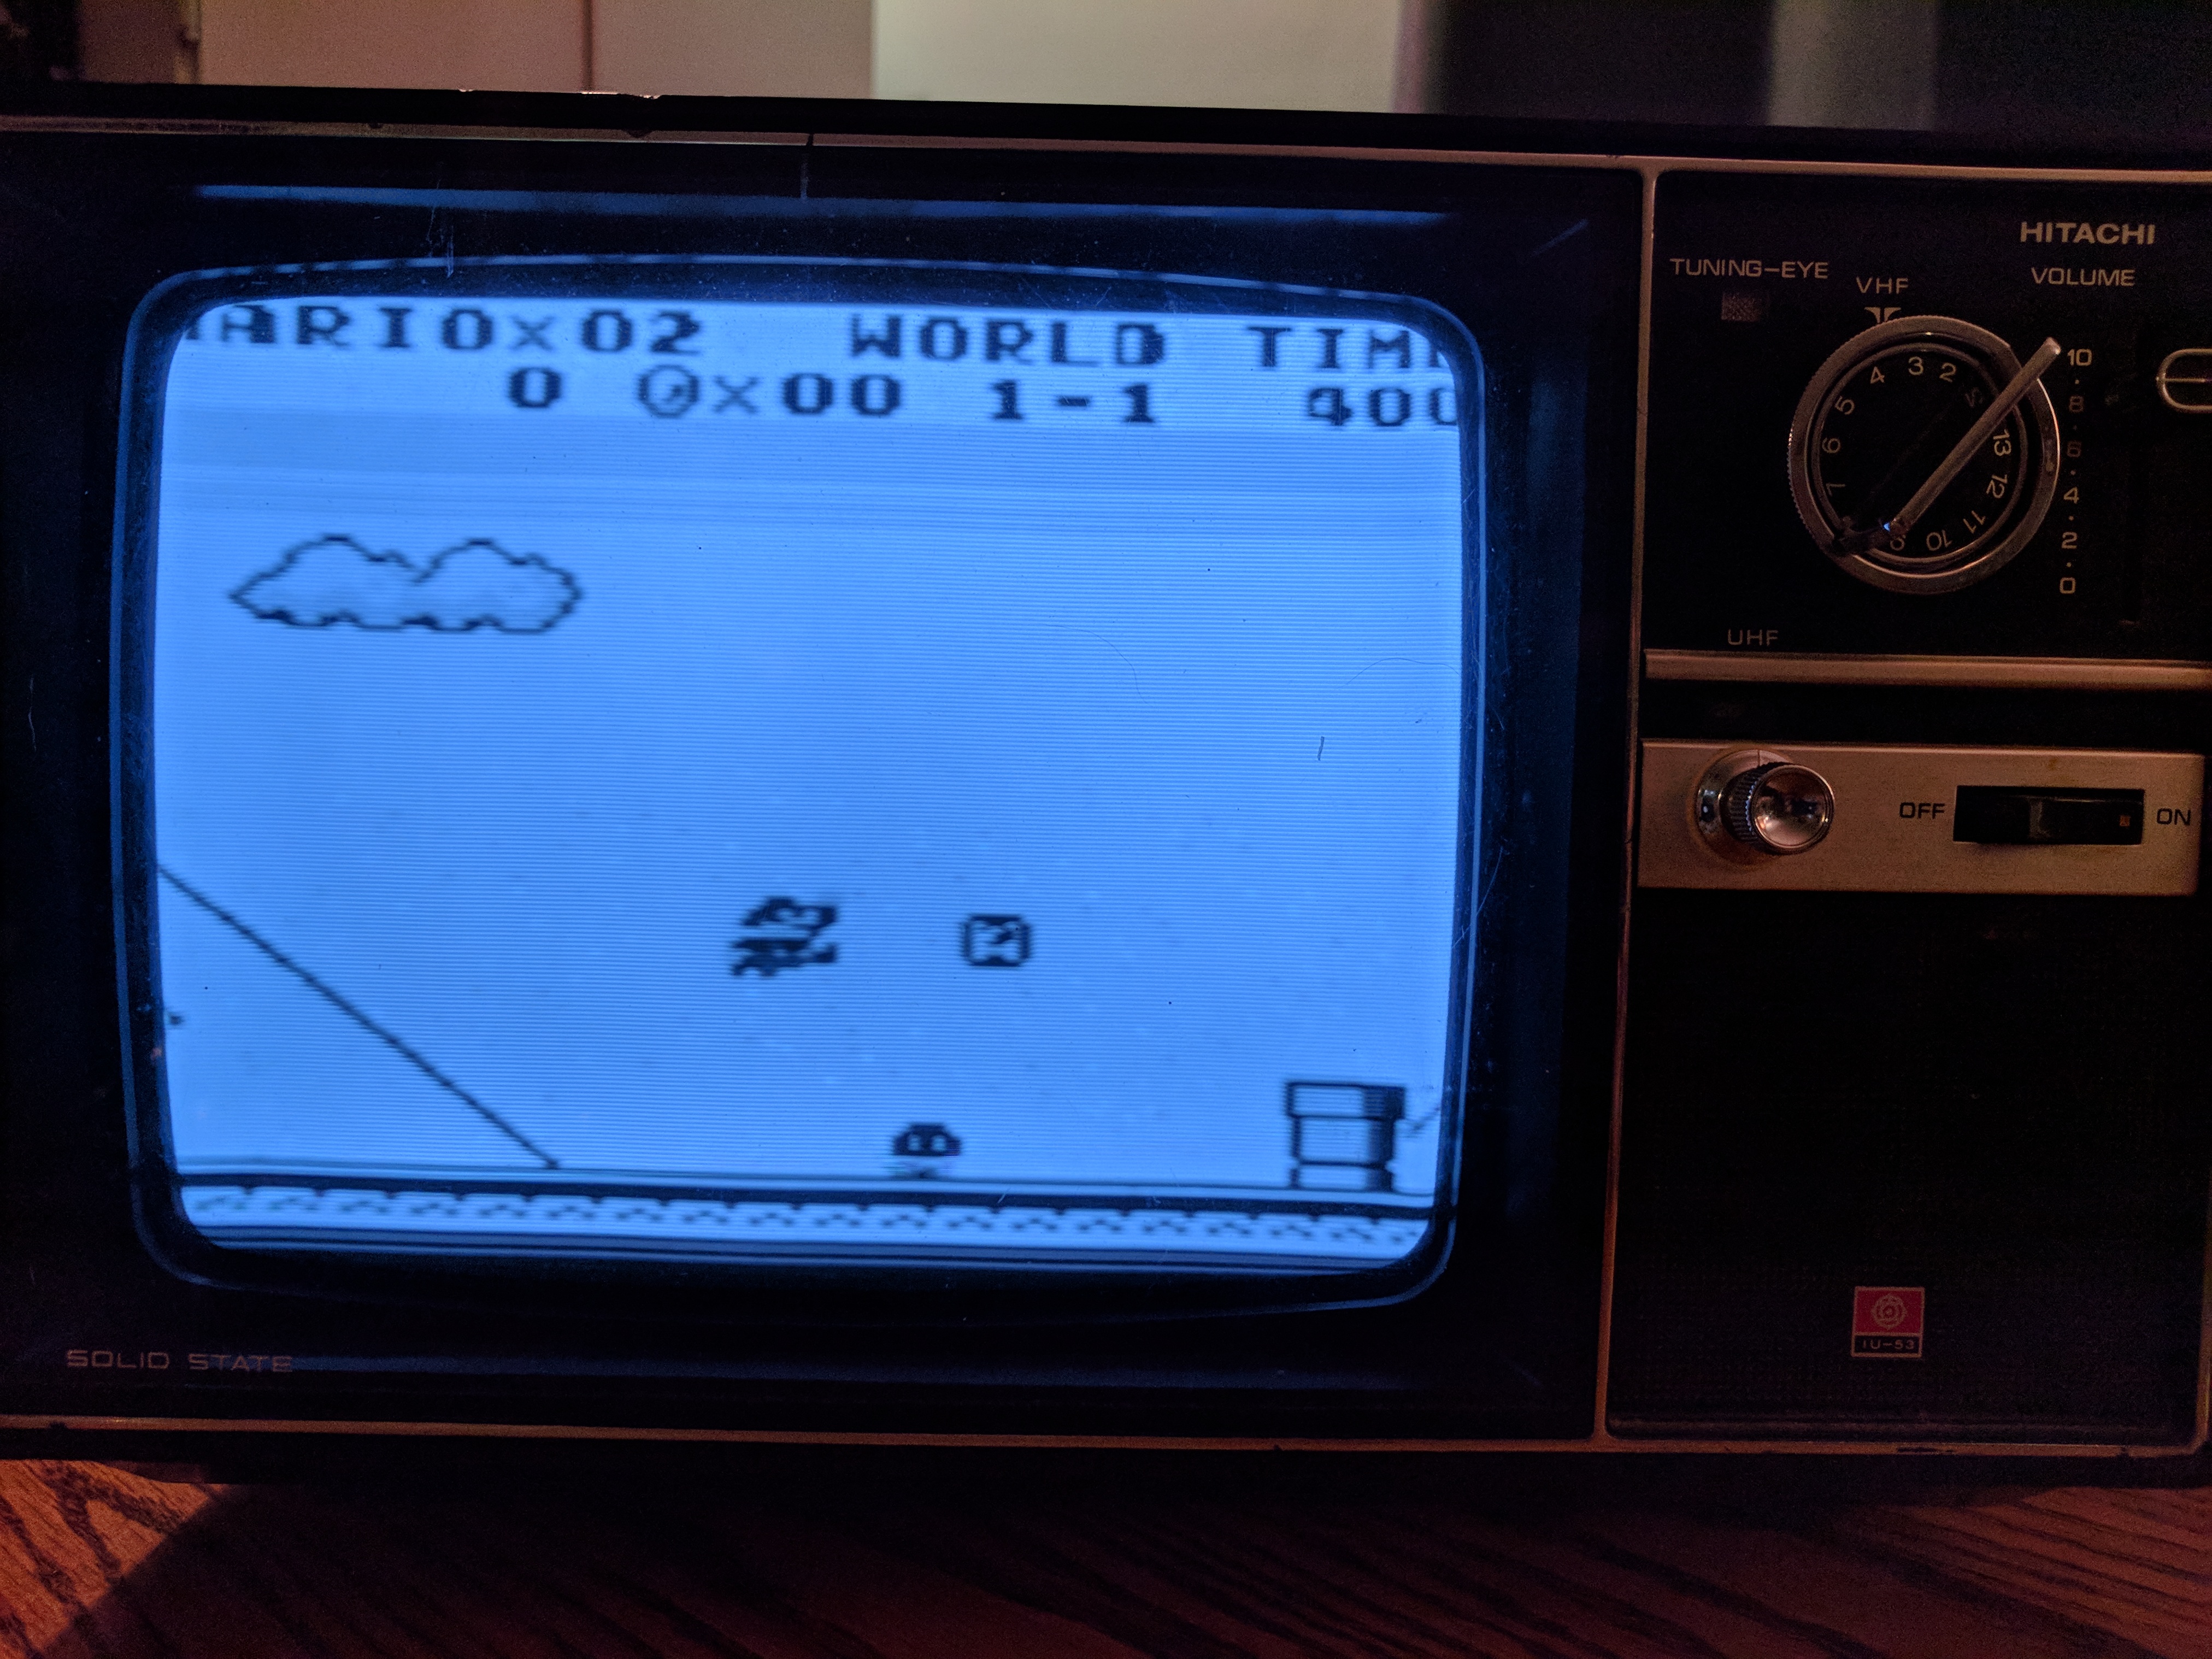
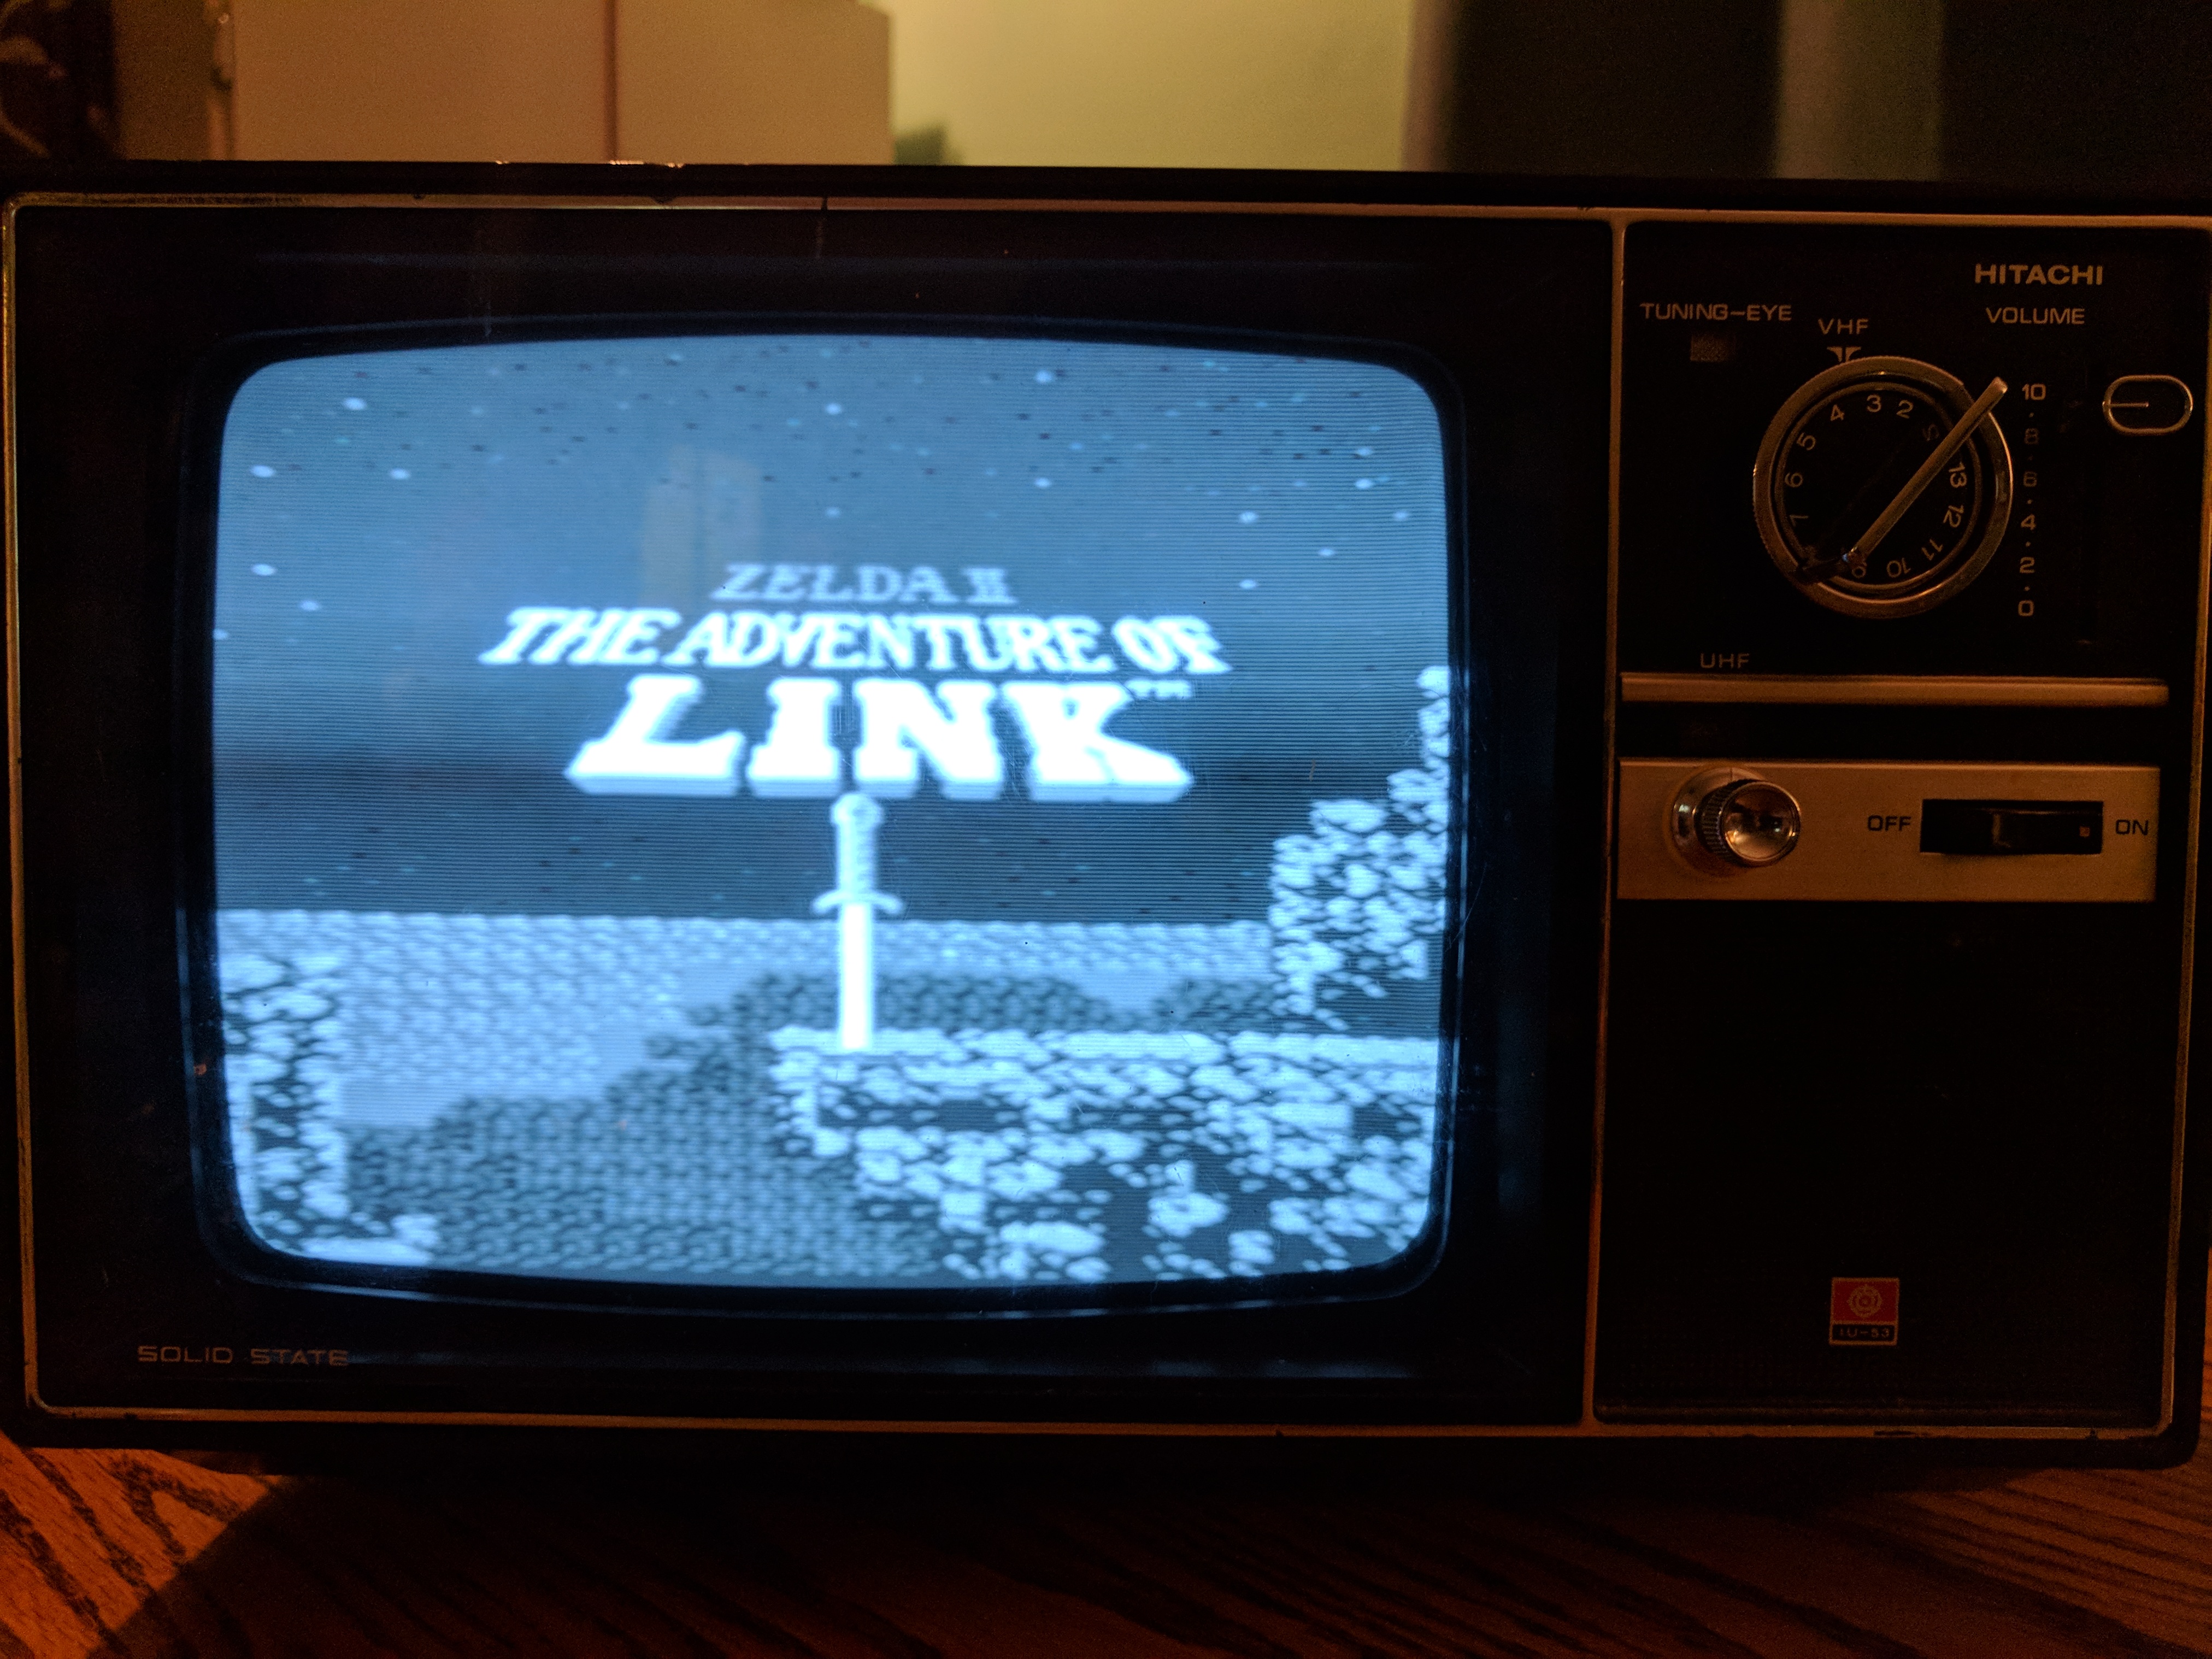
I tried a few systems out on the TV, but in the end I think I was right back in the beginning: This makes a great game boy!
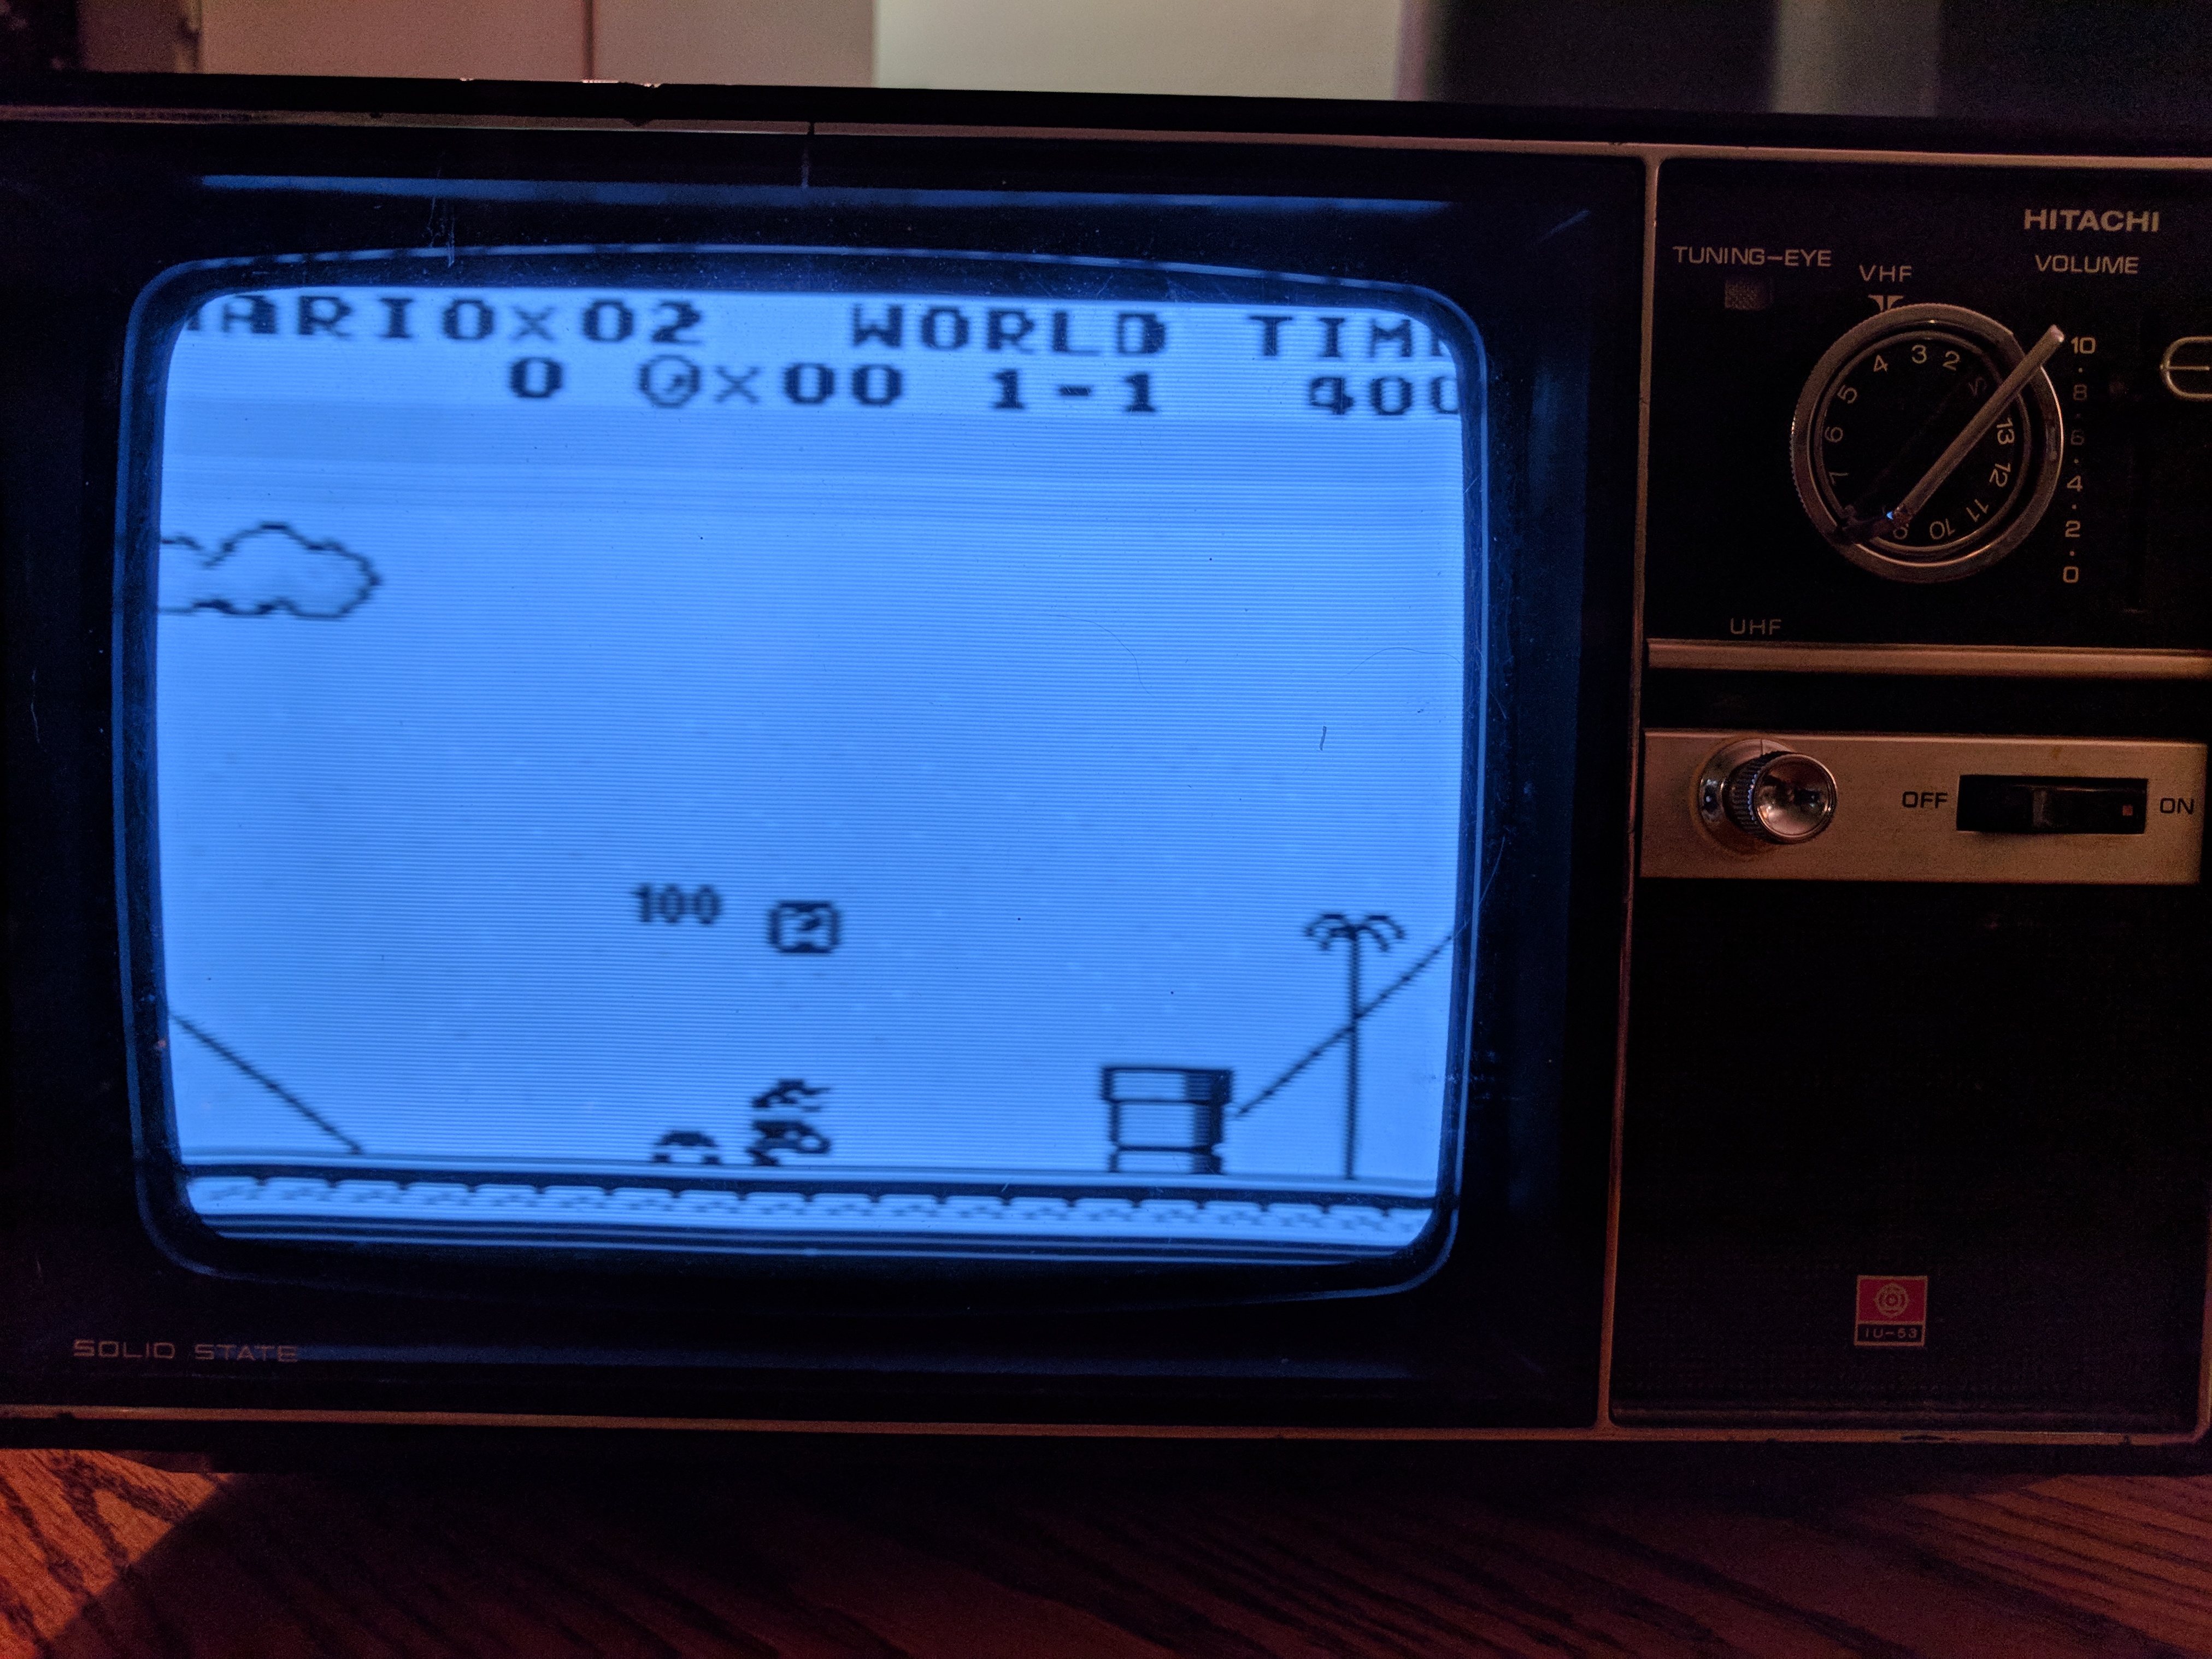
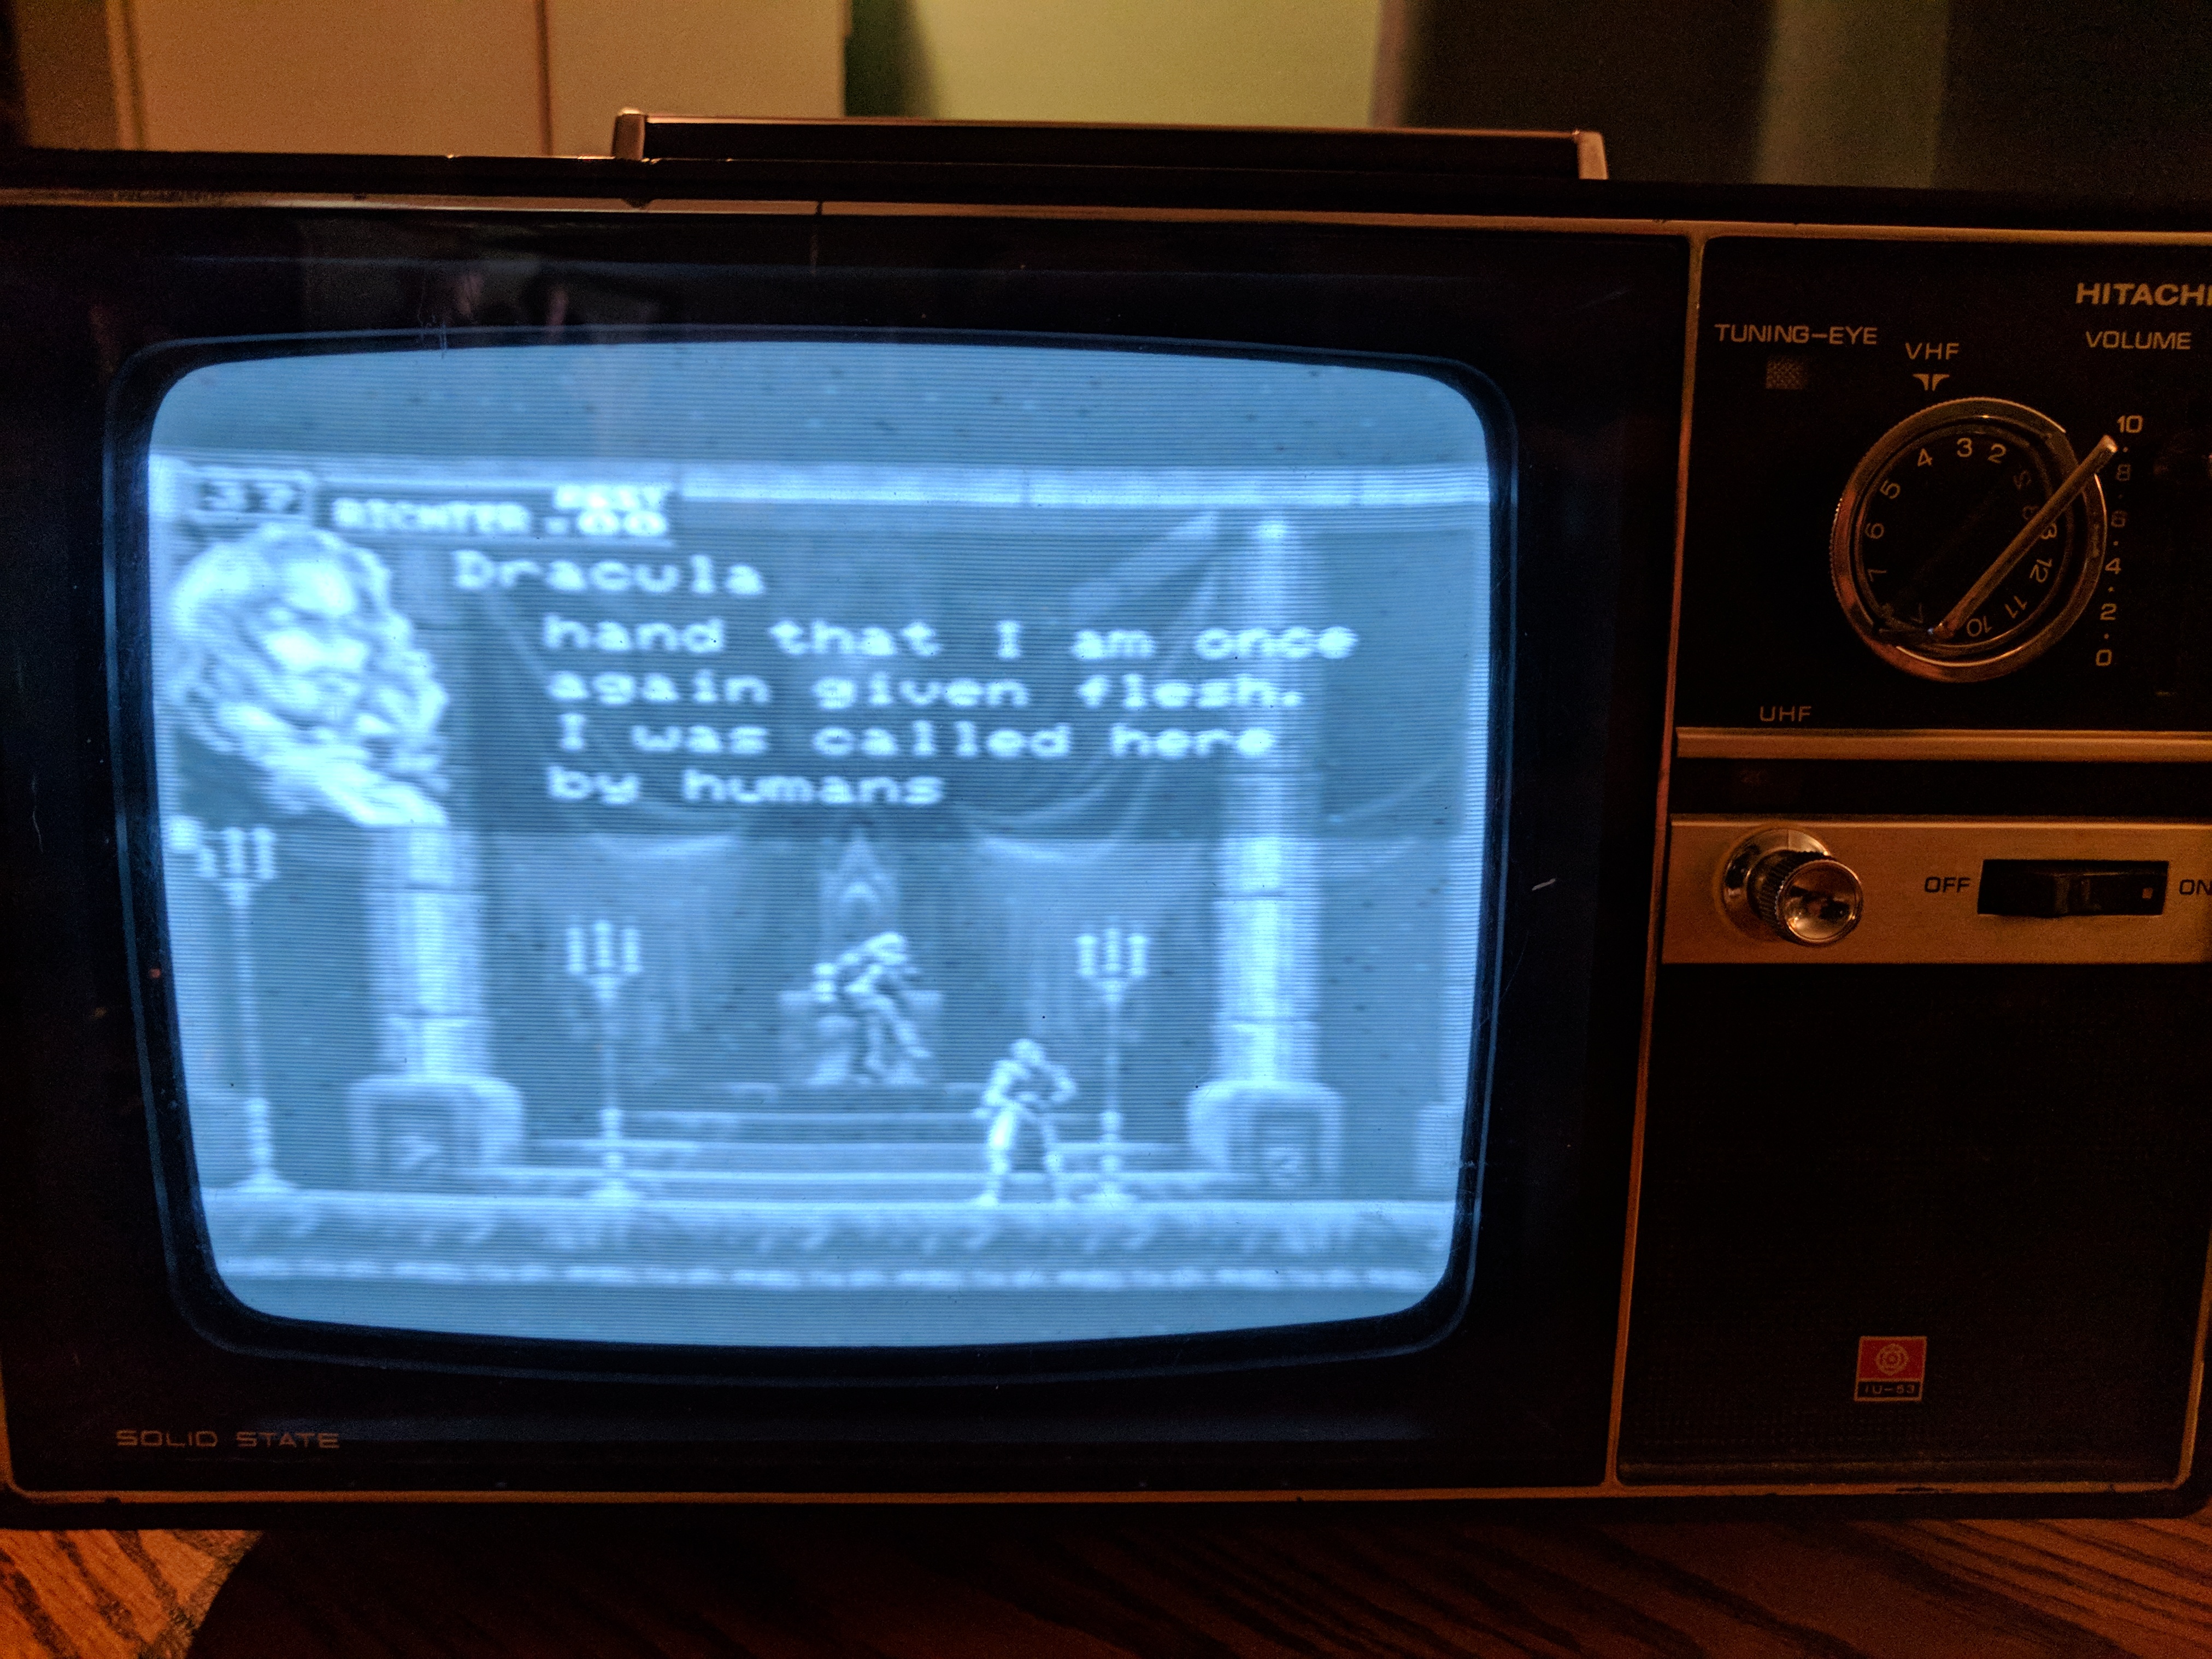
Note –> The horizontal lines which appear in the above animation are not visible to the human eye.